


General
Download our Popular Kickstand Guide and General Carrier Safety Instructions below
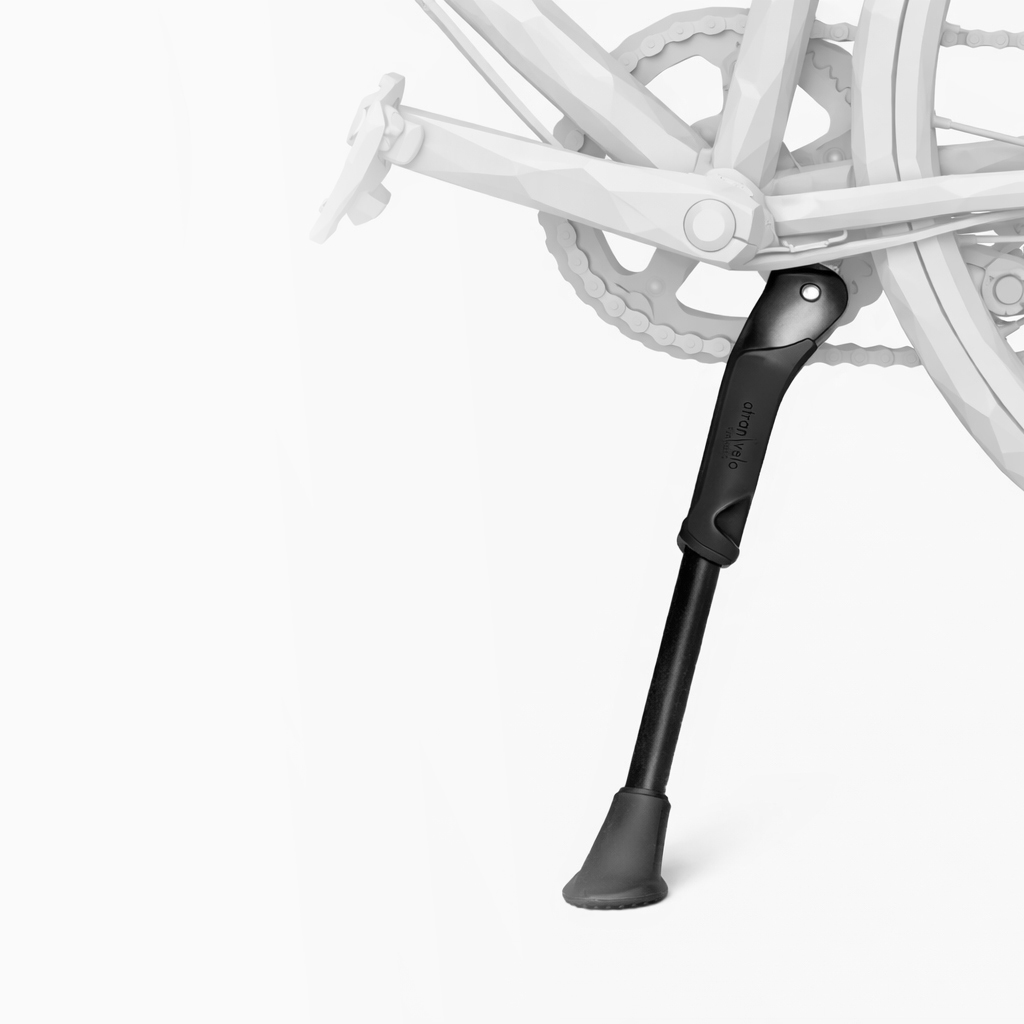
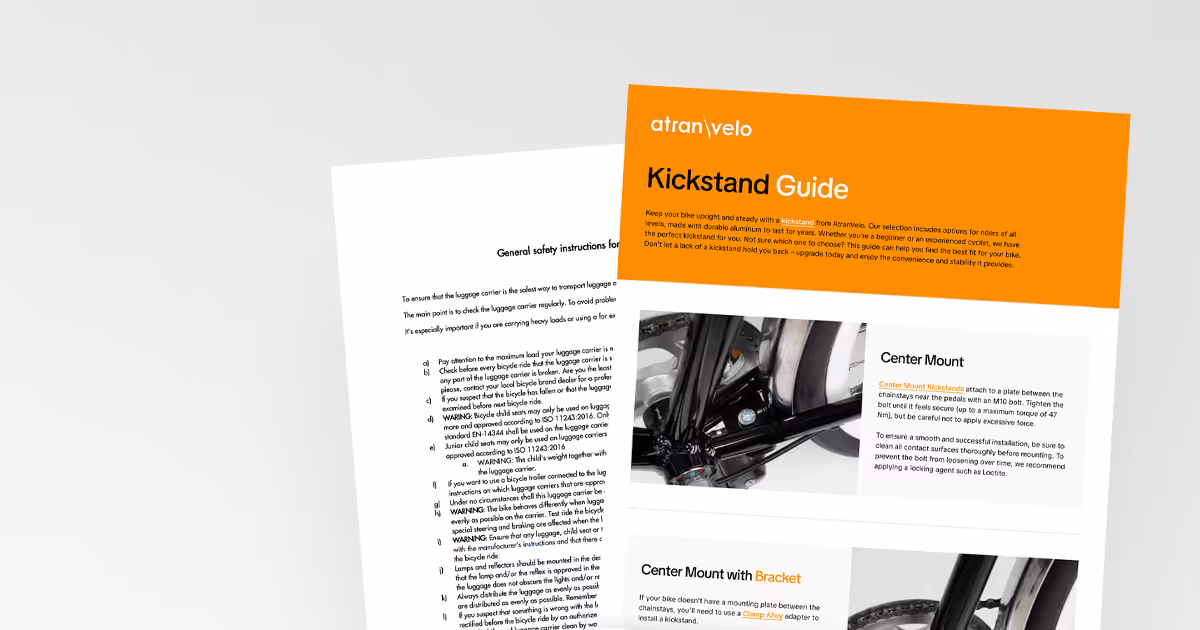
Kickstand Guide
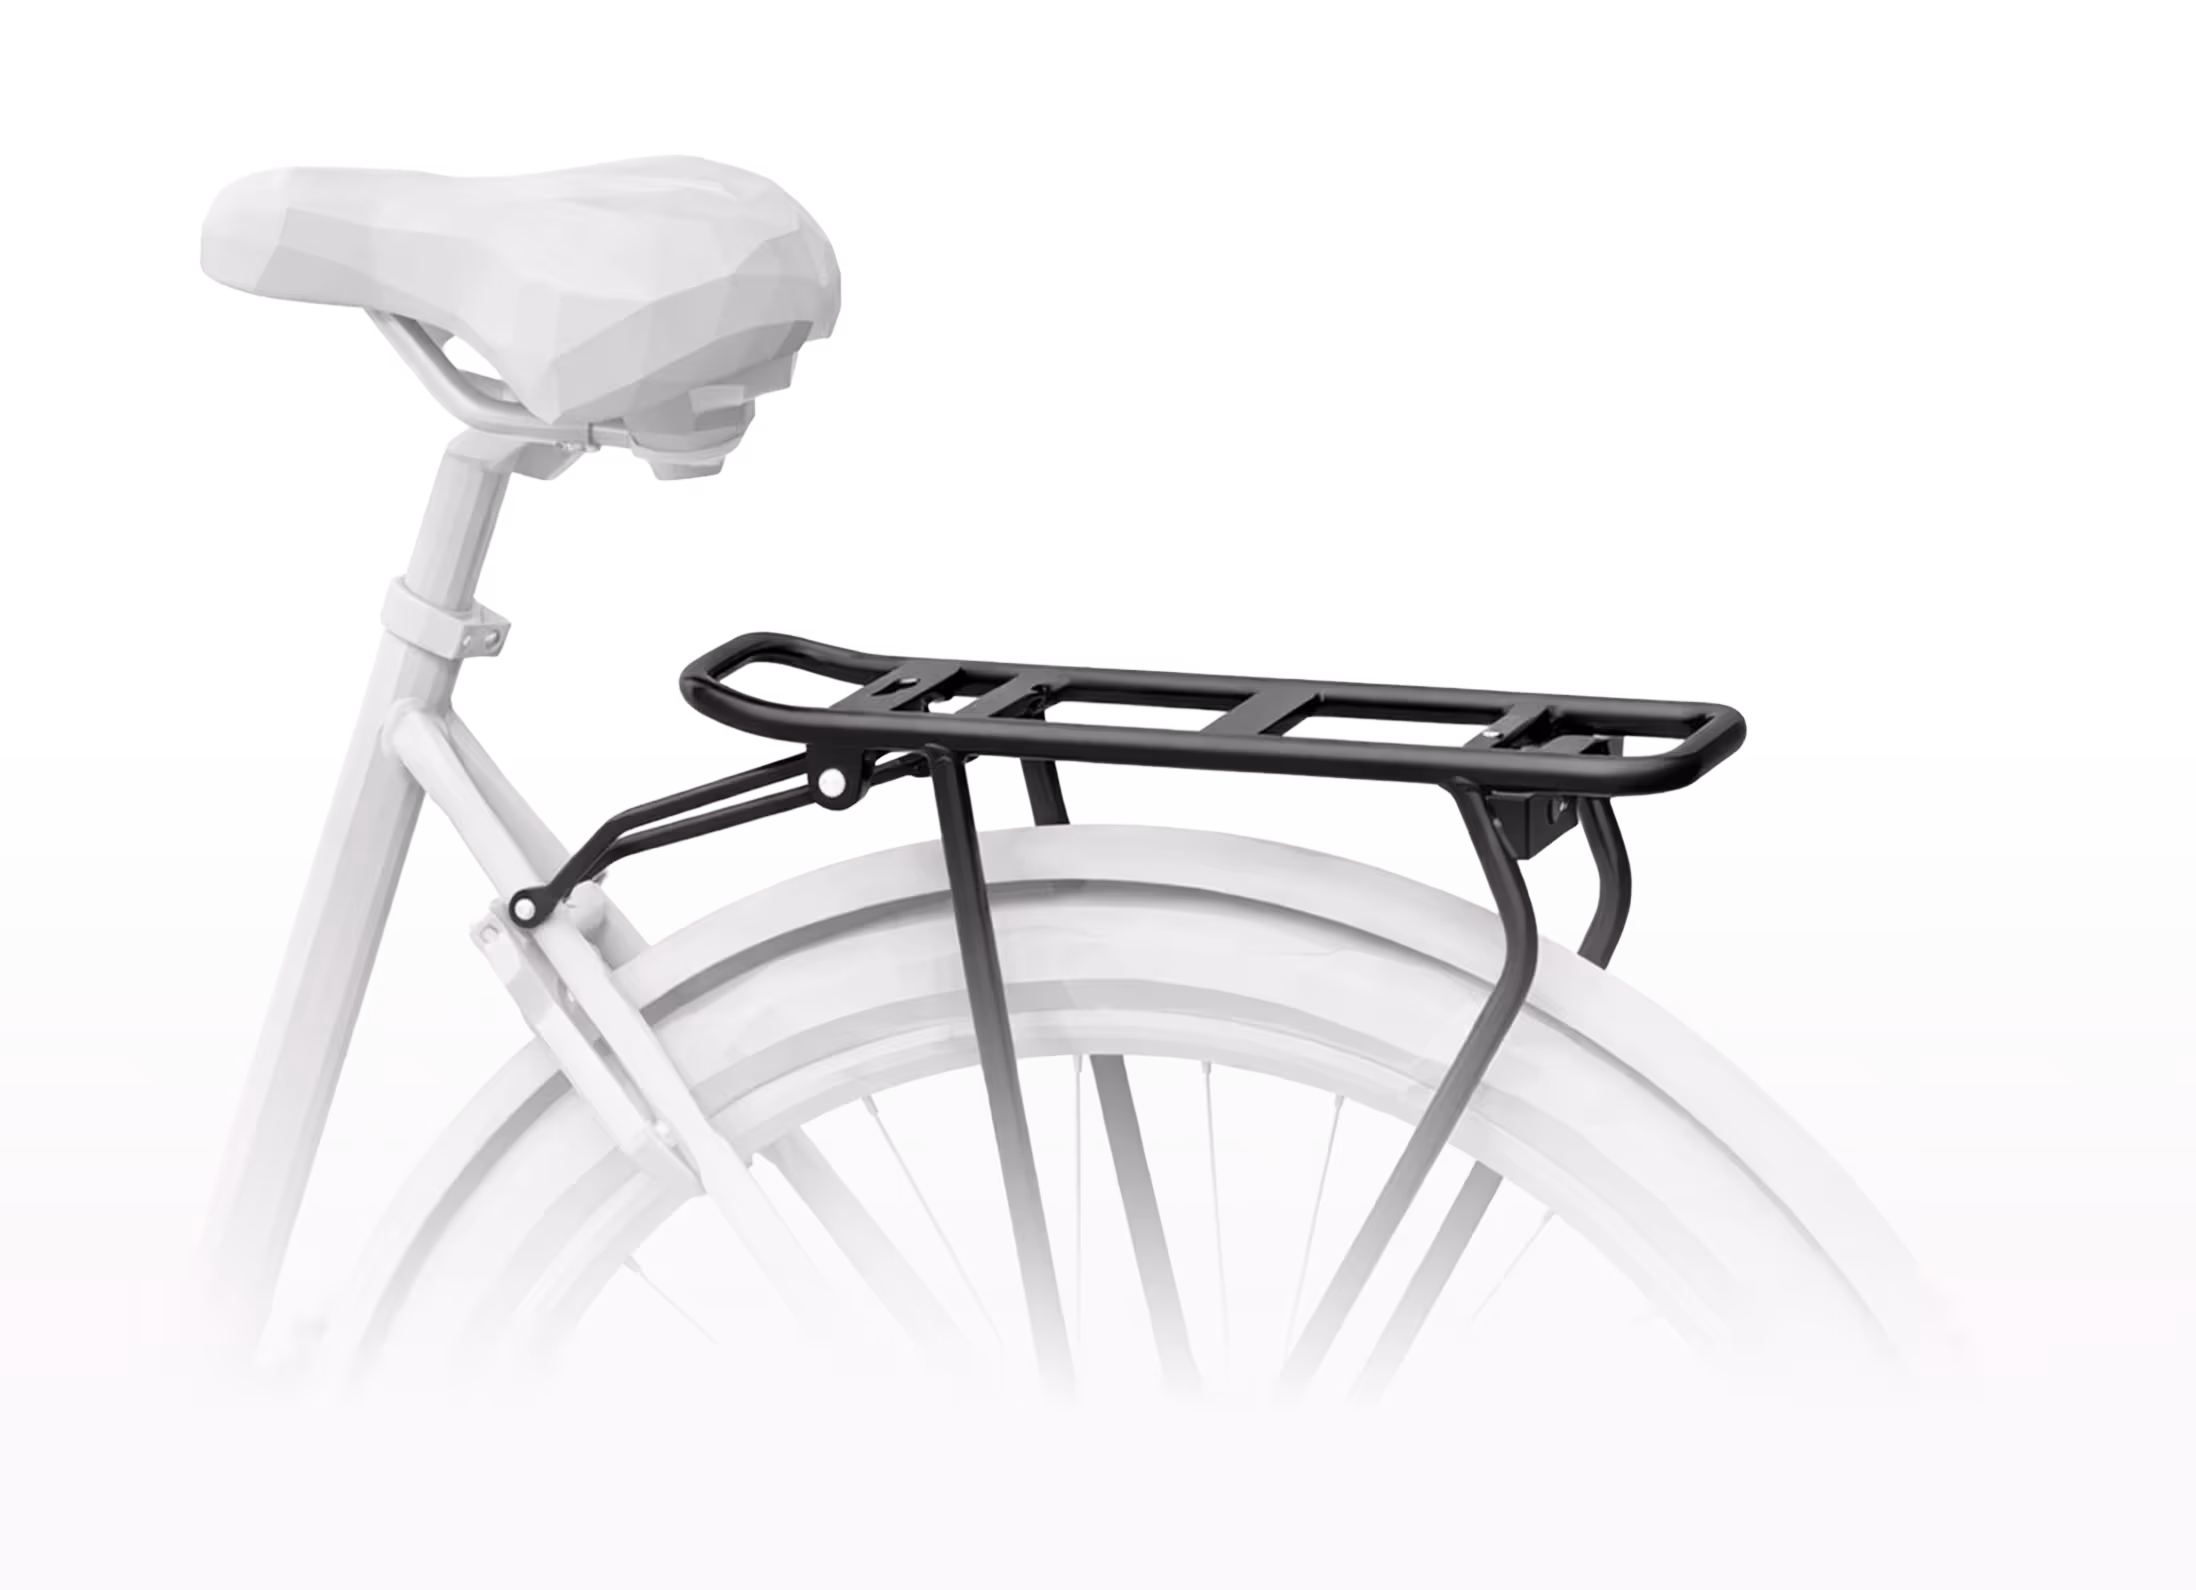
Carrier Safety
Instructions
Product Instructions
Click on any of the products below to download the instructions

Sign up for our Newsletter
Get exclusive product news and event info straight to your inbox.
By signing up, you agree to the terms & conditions in our privacy policy.